Starting a keycloak 19 instance (based on quarkus)
The following docker compose file can be used to start a keycloak instance:
version: "3.7"

services:
  keycloak:
    image: "quay.io/keycloak/keycloak:19.0.2"
    container_name: quarkus-keycloak
    restart: "no"
    ports:
      - "8180:8080" # Changing this port because 8080 is usually the default for the quarkus app
    environment:
      - KEYCLOAK_ADMIN=admin
      - KEYCLOAK_ADMIN_PASSWORD=admin
    command:
      - start-dev
      - --import-realm
When saving this as docker-compose.yml file and running docker-compose up withing the file's folder,
keycloak will be started on http://localhost:8180 and you can login with the admin user and admin password.
Exporting a keycloak realm
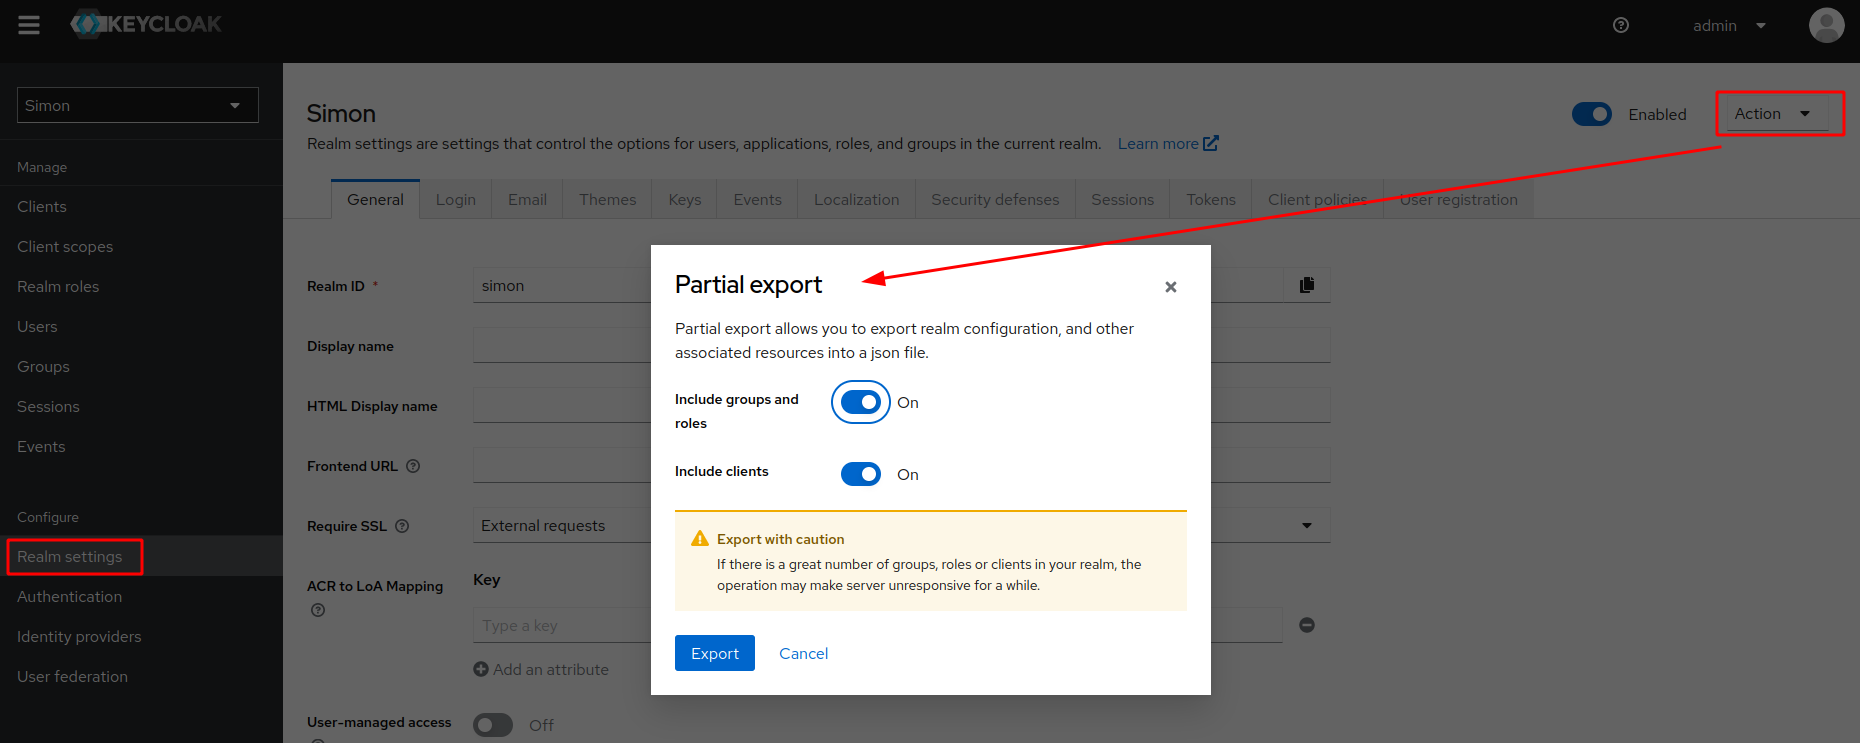
A keycloak realm can easily be exported by using the user interface of keycloak, but this won't contain the users and roles within that realm for security reasons.

When clicking the Export button you can have a look at the exported json and will find out that the users are missing.
Exporting a keycloak realm including users and roles
To also get user and role information the keycloak CLI has to be used.
By using the docker ps command we can find out the container id and connect to the container by using docker exec -it {your-containers-id} bash.
Once the bash within the docker container is available the following command can be used to export the realm including users and roles:
/opt/keycloak/bin/kc.sh export --dir /opt/keycloak/data/import --users realm_file --realm {your-realms-id}
With --dir or --file you can specify the export folder or file.
--users realm_file will cause that the users will be put into the realm file.
--realm {your-realms-id} is used to specify which realm is supposed to be exported.
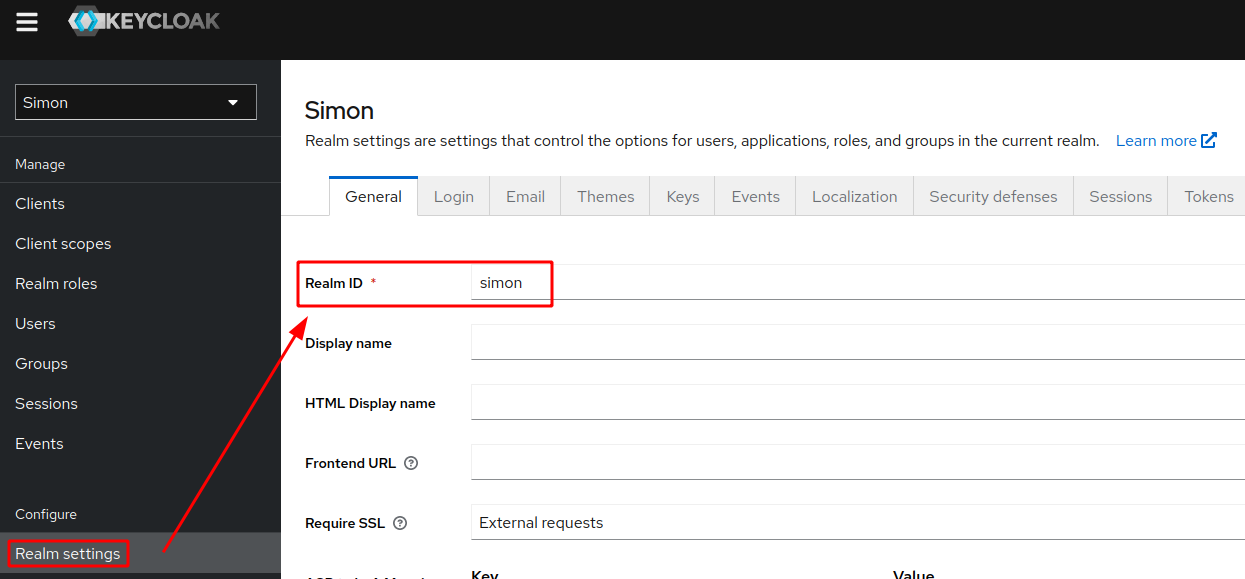
The id of the realm can be found here:

This is how it looks like on my machine:

To directly see the contents of the exported realm file you can invoke:
cat /opt/keycloak/data/import/{your-realm-id}-realm.json
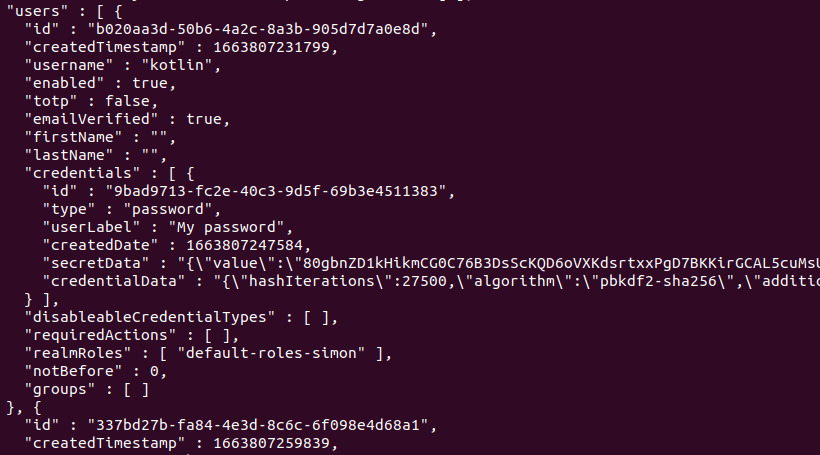
When looking at the output of the cat command, you'll see the users array:

Copy exported realm file to host
Using cat to view the contents of the realm file is nice, but here is the command to copy it over to your machine.
docker cp {your-containers-id}:/opt/keycloak/data/import/{your-realm-id}-realm.json /{your-desired-location-on-host}
Import keycloak realm using docker compose
version: "3.7"

services:
  keycloak:
    image: "quay.io/keycloak/keycloak:19.0.2"
    container_name: quarkus-keycloak
    restart: "no"
    ports:
      - "8180:8080" # Changing this port because 8080 is usually the default for the quarkus app
    environment:
      - KEYCLOAK_ADMIN=admin
      - KEYCLOAK_ADMIN_PASSWORD=admin
      - KEYCLOAK_IMPORT=./{your-realm-id}-realm.json
    command:
      - start-dev
      - --import-realm
Adding - KEYCLOAK_IMPORT=./{your-realm-id}-realm.json to the docker-compose.yaml from the previous section will now also import the realm,
which was exported earlier.
Conclusion
Of course this should be done with caution and my only reason to export also the users is to have a sample realm file in place for local development.
My projects usually consist of a docker-compose.yaml file in the root of the project to easily ramp up services/technologies, which are used by the project, e.g., database, message broker, keycloak and more.
